- Joined
- Dec 28, 2009
- Messages
- 5,469
Yer lucky.My excuse by the way is i ran out of money
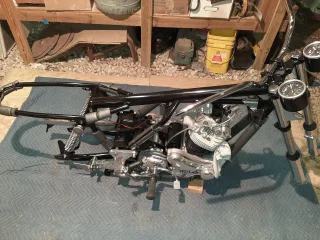
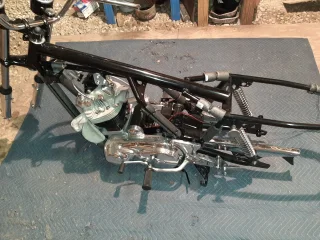
I worked on the street today with a knee pad . Wiped away the snow first.
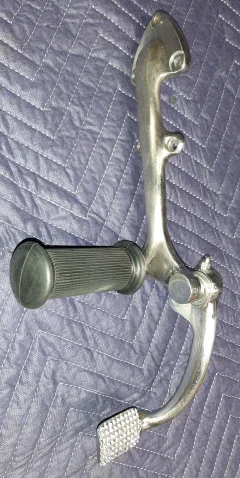
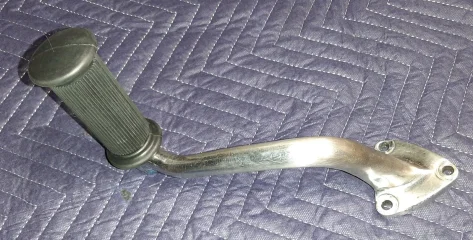
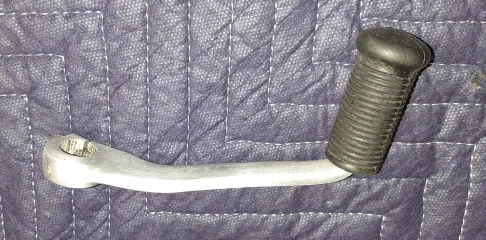
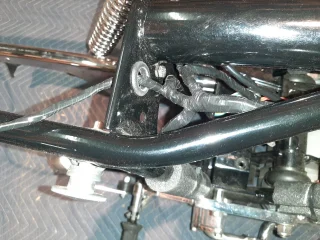
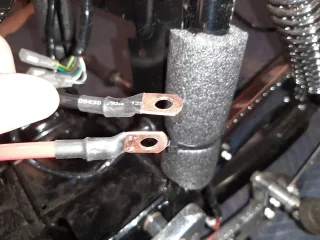
But did manage to fit the new 21 T. sprocket tight. And fitted the better mainshaft clutch support circlip sanded down thinner to fit. Tapped into place. Covered up good as a new snowstorm hits tonight.
A lowly garage goes for a million dollars here now.
")