- Joined
- Aug 10, 2014
- Messages
- 2,260
Hi, i was wondering if anyone knew what the difference was as a few sources have listed the 1970 model commando as having 930/46 & 930/47 amals, how are these different from the 930/30 &930/31?
Thanks heaps
links:
http://www.inoanorton.com/docs/TheNortonCarburetor.pdf
http://www.amalcarb.co.uk/ (click in Norton, then commando 1970)
Thanks heaps
links:
http://www.inoanorton.com/docs/TheNortonCarburetor.pdf
http://www.amalcarb.co.uk/ (click in Norton, then commando 1970)
- interstateOz
- Replies: 11
- Forum: Norton Commando Forum
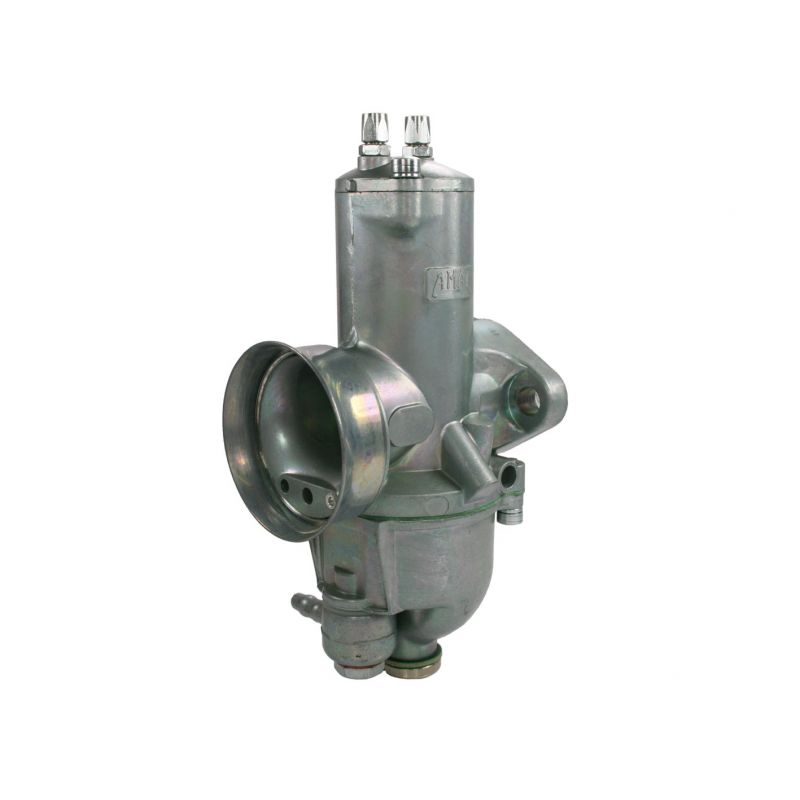
Shop our Carburettor for a Norton Commando 750cc 1970 - Supersede | AMAL Carburetters
Carburettor for a Norton Commando 750cc 1970 - Superseded to 930/46PREM
 amalcarb.co.uk
Last edited: