1975 Commando 850 restoration

Hi Larry, I am also doing a Mk3 at present and am probably a bit ahead of where you are at, I purchased a new Andover loom and had major headaches with it, all of which are now sorted but it definitely was not fit and go! I to have had indicator problems, my indicators were new Lucas [wassel] and came with 23 watt bulbs, I had a new Lucas [wassel] flasher unit and with a test battery the system would flash normally twice and then speed up, I first changed to 21 watt bulbs no difference then tried a used flasher relay from a friends Commando which cured the problem, I went back to my supplier and advised him that I had a faulty unit and suggested that he send me a replacement unit but his reply was that's a waste of time they are all like it and that wassel advise to use 20 watt bulbs- who supplies 20 watt bulbs? I ended up fitting a unit from the local auto shop end of problem.
 
Hi Larry, I am also doing a Mk3 at present and am probably a bit ahead of where you are at, I purchased a new Andover loom and had major headaches with it, all of which are now sorted but it definitely was not fit and go! I to have had indicator problems, my indicators were new Lucas [wassel] and came with 23 watt bulbs, I had a new Lucas [wassel] flasher unit and with a test battery the system would flash normally twice and then speed up, I first changed to 21 watt bulbs no difference then tried a used flasher relay from a friends Commando which cured the problem, I went back to my supplier and advised him that I had a faulty unit and suggested that he send me a replacement unit but his reply was that's a waste of time they are all like it and that wassel advise to use 20 watt bulbs- who supplies 20 watt bulbs? I ended up fitting a unit from the local auto shop end of problem.
When I fit my new loom from British Wiring, I also had problems with the CNW indicators and flashing rates. I went with a load sensitive Narva flasher and all is good.
 
Your picture seems to show the front signals wired as running lights as both are on together or something isn't connected correctly (or are they LED bulbs as that can result in both sides working simultaneously unless the warning light bulb wiring is modified?) which isn't standard so are unlikely to work properly in that configuration, also unlikely to flash unless the rear signals are connected and LED bulbs would need an LED flasher relay or additional resistors.

The sleeve connection at the bottom of the headlamp shell is there to provide a ground to harness red for the front direction indicators and is not a 'headlamp ground' as often thought so ensure that the connection between the shell and harness red is secure.

Also, what is the additional thinner (but heavier than standard?) gauge red wire connected to battery positive (for electronic ignition perhaps?)?
Connecting a thinner gauge (than the starter positive cable) wire would defeat the object of not connecting the harness positive ring terminal if the electrical system can use it as a ground/return to battery positive (unless it has a fuse to prevent the starter motor current burning the wire out?) unless, for instance, it is only a ground for electronic ignition where it has no connection to the harness or 'frame'.
The sleeve connection is where I believe I messed up. At the very least. Still going to get new signals and ground them. Yes, the other red wire is for the electronic ignition and is fused on the negative side. I also fused the harness with a 15a mini fuse.
 
Pictures of my fuse job.
 

Attachments

  • 1975 Commando 850 restoration
    20210621_193420.jpg
    386 KB · Views: 288
  • 1975 Commando 850 restoration
    20210621_193352.jpg
    374.3 KB · Views: 298
Dave I would suggest that the British Wiring looms actually come from AutoSparks UK which apparently started British Wiring, my understanding is that Autosparks supply Andover.
 
This does not seem right to me. My rear sprocket sits proud of the hub, should it not be flush with the hub? Tried to remove the lock ring to check and see what's wrong and I broke my ring spanner. Any ideas?
 

Attachments

  • 1975 Commando 850 restoration
    20210628_191020.jpg
    260 KB · Views: 280
  • 1975 Commando 850 restoration
    20210628_190957.jpg
    349.4 KB · Views: 262
  • 1975 Commando 850 restoration
    20210628_190946.jpg
    259.8 KB · Views: 281
This does not seem right to me. My rear sprocket sits proud of the hub, should it not be flush with the hub?
No, often queried by Mk3 owners but the gap is normal.
Tried to remove the lock ring to check and see what's wrong and I broke my ring spanner.
Some versions of the MK3 manual say the lock ring is "left-hand" thread but it is RIGHT-hand.
 
Last edited:
Also, the cush drive rubbers in your pictures aren't fitted correctly.
They should be fitted like this (so there's cush rubber for both drive and overrun).
1975 Commando 850 restoration
 
Last edited:
Also, the cush drive rubbers in your pictures aren't fitted correctly.
They should be fitted like this (so there's cush rubber for both drive and overrun).
1975 Commando 850 restoration
Thanks for all the great info. I’m very relieved that I don’t have to remove the lock ring to repair this “non-problem”. I will relocate those cush drive rubbers and call it good.
 
Last edited:
:)

I will relocate those cush drive rubbers and call it good.

While you have the rubbers out it can be a good idea to stick the backplate to the hub with silicone sealant or similar to prevent it rattling which is a common Mk3 problem.
 
:)


While you have the rubbers out it can be a good idea to stick the backplate to the hub with silicone sealant or similar to prevent it rattling which is a common Mk3 problem.
Thank you for the tip. Silicone it shall be.
 
Relocated my cush drive rubbers correctly. Thanks LAB. I found that slicked up with plumbers silicone and starting with the larger rubber followed by its smaller mate worked best. It was still a rough job even with the lube.
 

Attachments

  • 1975 Commando 850 restoration
    20210630_200356.jpg
    380.8 KB · Views: 228
  • 1975 Commando 850 restoration
    20210630_200402.jpg
    346.8 KB · Views: 269
Major progress milestone! Ladies and gentlemen, I have a roller! It's been a year and two months since it's had two wheels. I am freaking happy.
 

Attachments

  • 1975 Commando 850 restoration
    20210704_135554.jpg
    431.9 KB · Views: 244
  • 1975 Commando 850 restoration
    20210704_135604.jpg
    403.3 KB · Views: 225
  • 1975 Commando 850 restoration
    20210704_135622.jpg
    390 KB · Views: 220
  • 1975 Commando 850 restoration
    20210704_135638.jpg
    370.1 KB · Views: 230
Larry,
Great job on the cush rubbers, PITA for sure - I used rubber grease and a fabbed pushing tool to get mine all in. Thumbs etc weren't up to the job.

Ctefeh
 
Hi
Regarding the power supply : A computer power supply works really well black and yellow cables on a HDD plug my t160 tank below power from a pc power supply.

View attachment 75809
Hi
Regarding the power supply : A computer power supply works really well black and yellow cables on a HDD plug my t160 tank below power from a pc power supply.

View attachment 75809
Does evap-o-rust affect paint? My 850 tank is beautiful original paint but some old gas has made the inside look terrible.
rScotty
 
Went to Autozone last week and ordered an oil filter by cross referencing some filter numbers I found on this forum. Got a good hit on a number so I told them to order and call when it came in. Picked it up yesterday. It's going to look really pretty hidden where it goes! Lol!
 

Attachments

  • 1975 Commando 850 restoration
    20210707_175410.jpg
    415.6 KB · Views: 230
  • 1975 Commando 850 restoration
    20210707_175457.jpg
    508 KB · Views: 214
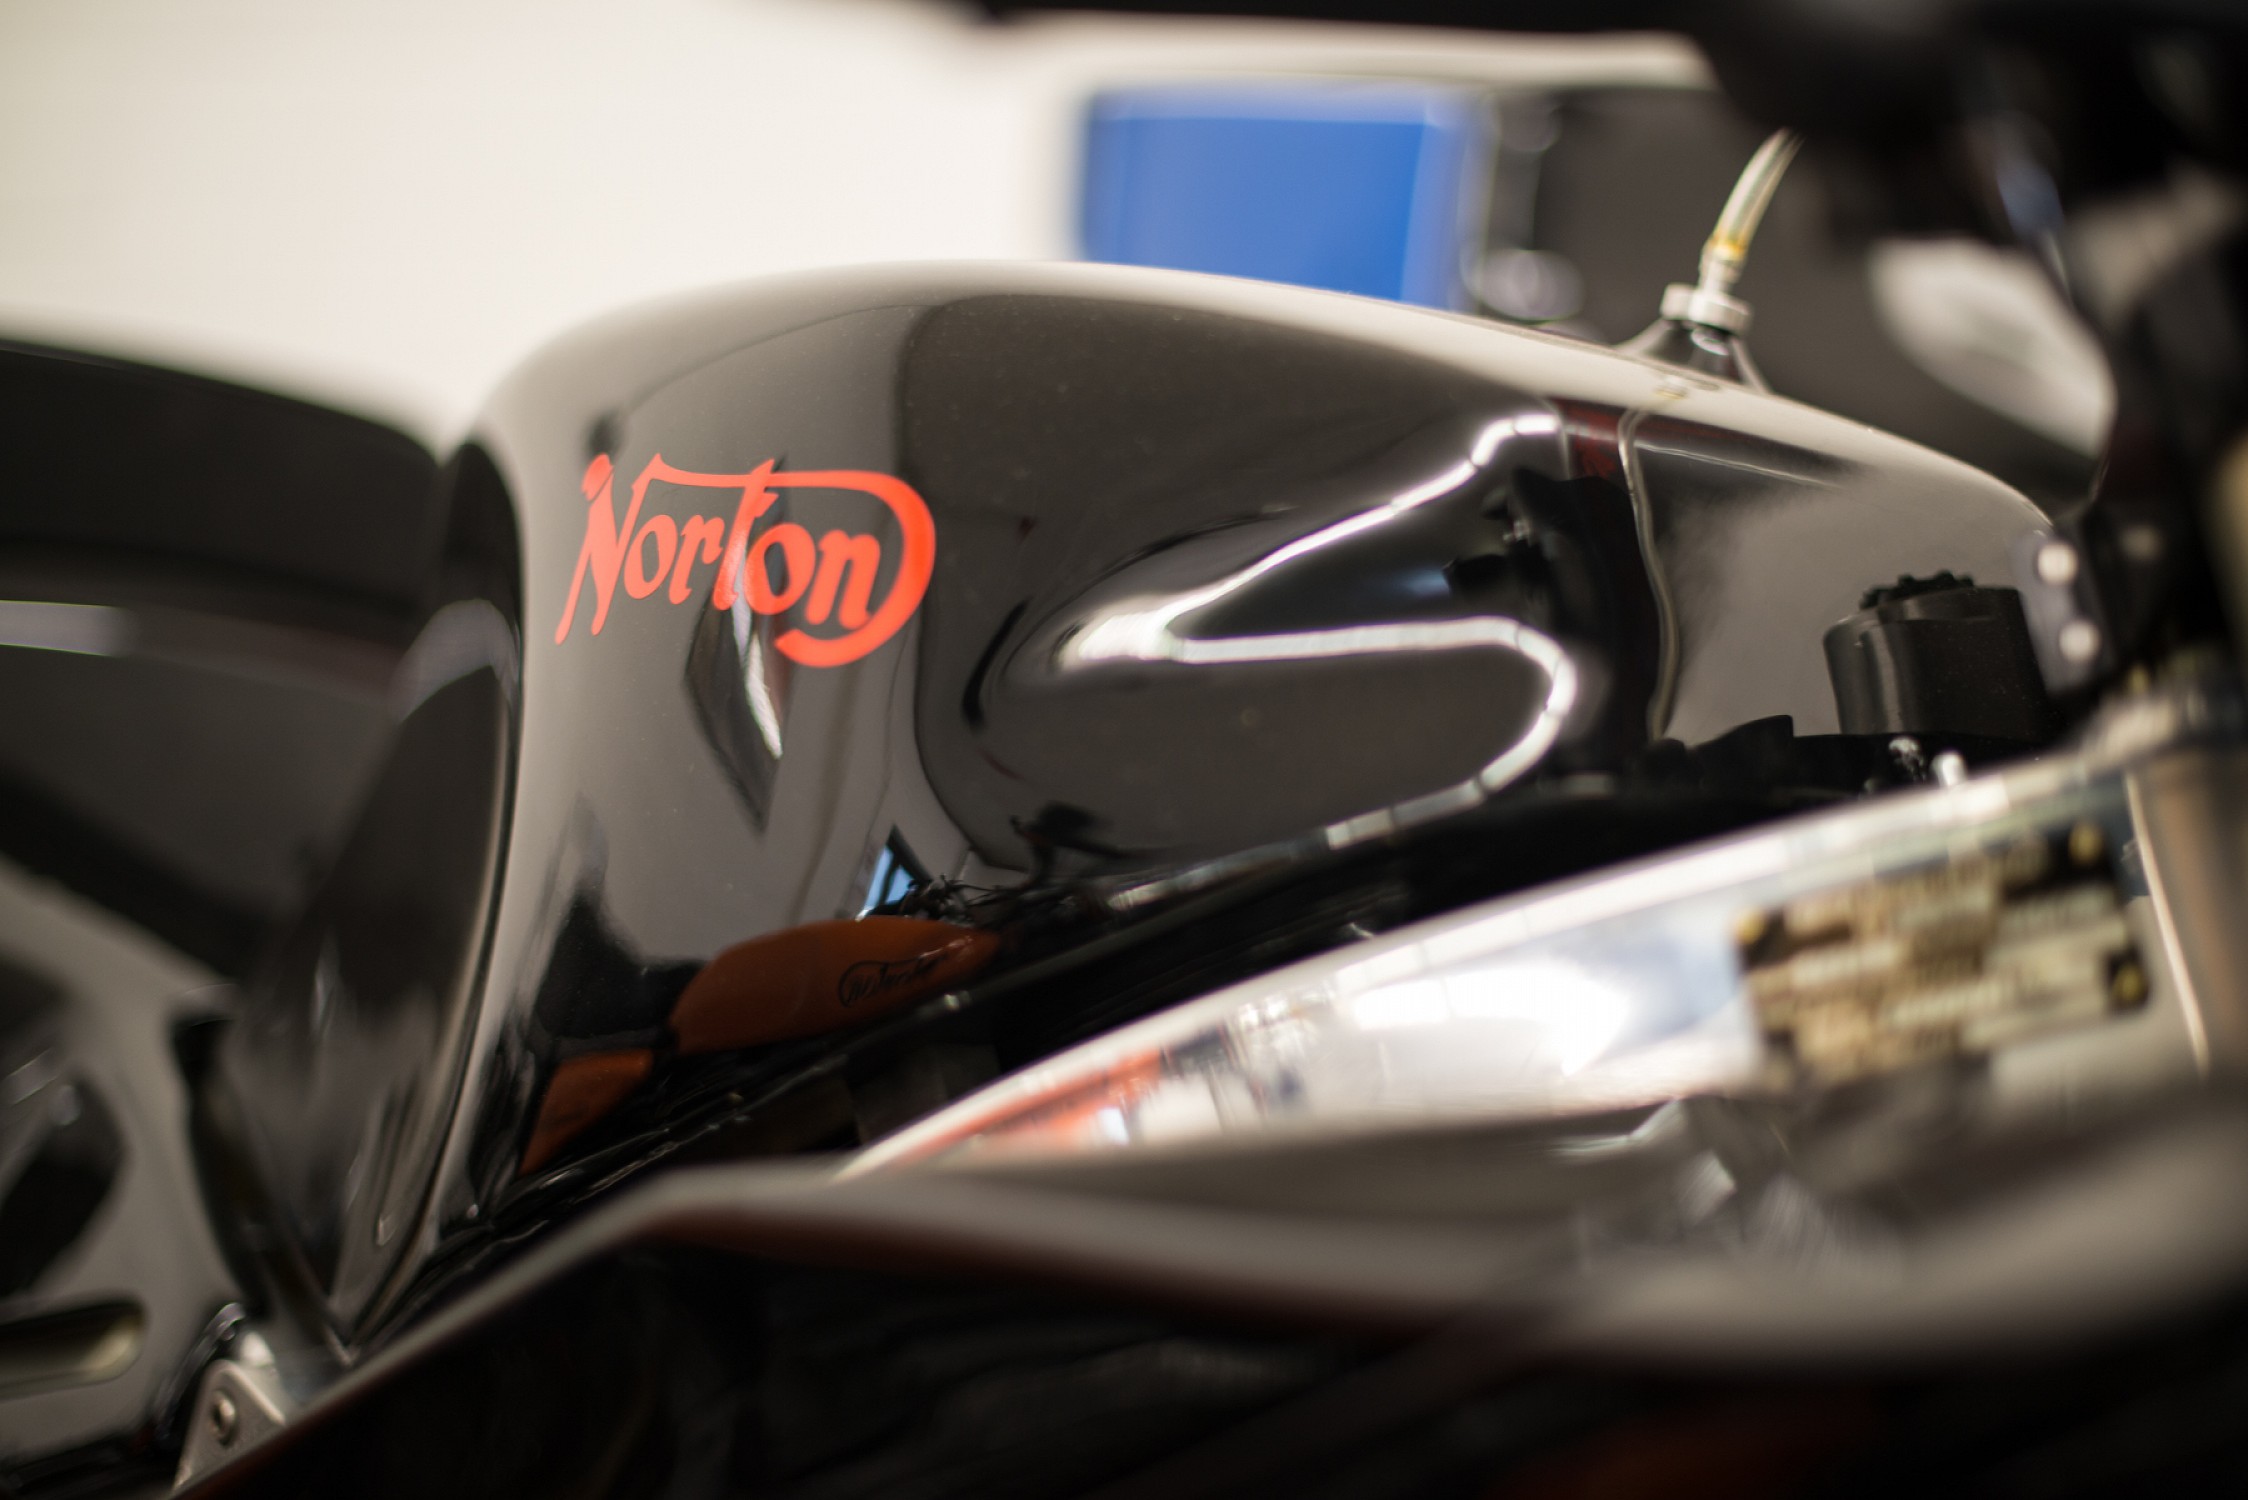
I ordered all the vinyl decals for my tank and side covers last night from somewhere in Australia. We’ll see how that goes. I also ordered one of those cheap filler caps off eBay. Well see how that goes also.
 
More progress. Filled all my fluids today. Engine, gearbox, primary and fork oil all good. I also filled and bled both front and rear brakes. Finally got my wiring sorted and everything is working correctly. Happy, happy about that! Things are going well.
 
Back
Top