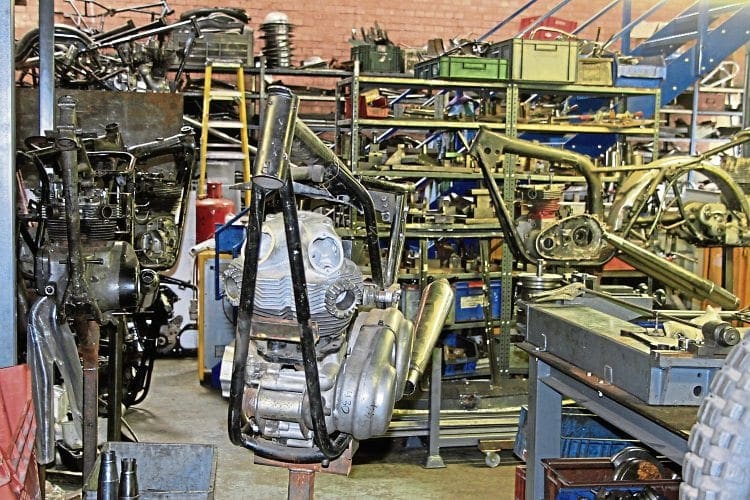
RRussellTx - 1974 Commando 850 Project

Since the engine is locked up, I had to skip the step where you rotate the engine to TDC to get the most room to get the head past the rods while still in the frame (spoiler alert). Finally got the head free as it was stuck pretty good and both pistons are at the exact same level (so not TDC). Also both cylinders are full of what looks like coffee grounds and the walls are NOT smooth...
The pistons are always at the same level - they go up and down together. The head will come off no matter where the pistons are but it's much easier with a helper.
 
The pistons are always at the same level - they go up and down together. The head will come off no matter where the pistons are but it's much easier with a helper.
Well that makes perfect sense... Learning a lot on this journey.
I'll try again tomorrow.
 
I'm starting to understand why handguns are banned in England...

I have a buddy that is a huge Triumph guy and he loaned me the wrenches to get the head off in situ.
I've never been to his house so I got a tour of his collection and it is impressive! Dude has a sweet 1935 Gloria Southern Cross and several early bikes! Super guy!

Anyway, I want to get a sense of how screwed I am as well as get the wheels rolling as soon as possible so I wanted to pull the head and see what's what.

Since the engine is locked up, I had to skip the step where you rotate the engine to TDC to get the most room to get the head past the rods while still in the frame (spoiler alert). Finally got the head free as it was stuck pretty good and both pistons are at the exact same level (so not TDC). Also both cylinders are full of what looks like coffee grounds and the walls are NOT smooth...

Pretty sure it's not coming out without pulling the motor at this point.

Anyway, there was no getting past the frame with the cam in that position tonight so I'll regroup tomorrow as I wait on tools.

Thanks for all the help! This is a great forum!
Not entirely sure I understand the situation exactly but the head should still be fine to come off with the motor in the frame.

Take the coils, coil mounting plate head steady etc all off to make sure nothing is in the way. Then lift the head up a few inches and push the push rods up past the rockers and up into the head as far as you can get them. You may need to rattle things around to get them as far up as possible. Then carefully rotate the head forward and upward making sure the pushrods stay high up in the head. Should come off fine.

The location of the crank and cam doesn't matter at this stage. The part about positioning the crank and cam is more about having the head lift evenly when you undo the head nuts and bolts.

By the way. Congratulations on getting the head lifted with all the carefully hidden fasteners undone. This doesn't always happen. 👍👍👍👍
 
Well that makes perfect sense... Learning a lot on this journey.
I'll try again tomorrow.
The trick is to tilt the head backwards and then push all four pushrods way up into the head. Then they can be removed and once they are out, there's nothing keeping the head on. It's normally hard to get off because you need one hand to hold the head and the other to manipulate four oily pushrods. My old arthritic hands have a lot of trouble doing that. But I can use two hands to manipulate the head and a helper (complete unskilled) can get the pushrods out.

Putting the head back on is not much of a problem with dry push pushrods.
Greg will have more recent experience with Commandos than me. So maybe try rotating the head backward. My most recent experience was with a slimline featherbed frame which has even less room.

Either way the secret is to get the pushrods way up into the head past the rockers. Having four hands is good too. 😎
 
How common is rust holes on the bottom of the exhaust headers? Might be an option to just call them drain holes.
You may consider patching up the header(s) and have them partially re-plated. Original headers are worth restoring, if in good shape otherwise.

- Knut
 
You may consider patching up the header(s) and have them partially re-plated. Original headers are worth restoring, if in good shape otherwise.

- Knut
I would think the holes could be carefully brazed over and then just polish out. A bit of brass won't look bad on the bottom.
 
I would think the holes could be carefully brazed over and then just polish out. A bit of brass won't look bad on the bottom.
Those holes surely extend to about 1.5" x 6" before there's anything solid to braze to! I'm a crap welder but pretty good at brazing - ain't no way!

Besides, a quality set of non-crossover pipes are only $175 delivered in the US. AFAIK, there are no cross-over pipes available except from Viking (Approx. $340USD+shipping from NZ).
 
Buff right out

Gonna rebuild the motor anyway, right? Take the rockers out and rubber band the pushrods up as far as they will go in the head. I twist the rubber bands around the pushrods and the two front studs in the head to lock the pushrods in place. Rotate left while lifting and tilting the head at the appropriate angle. You'll eventually get it out. That's how I do it.

You can pull that entire engine lump head and all out of the frame to make working on it easier. Need a strong set of arms and maybe an automatic transmission jack to set it on. Helps to have another person, but I'm 73 and can still do it in a frame with less space alone. With iron barrels and a stock crank it is a struggle though.
 
Good to know. When I searched RGM I only found ones they say are for MK3 and those are out of stock and have been for quite a while. When I search by the MKII part number, I find nothing.

BTW, who is "T J Wassell Limited"? They are apparently not the Wassell I by from since they have no balanced pipes.
 
BTW, who is "T J Wassell Limited"? They are apparently not the Wassell I by from since they have no balanced pipes.

I can't answer that, possibly no connection to W E Wassell, I don't know.


Success!

Lift, tilt back, raise push rods, hold with rubber bands, tilt forward and out.
Not nearly as easy as it sounds, but it helps when you know what to do...
Thanks again for the direction!

Looks pretty bad in there.
Now I need to figure out how to proceed if I can't move the pistons...

This is what it looked like at first:


This is what it looked like after cleaning it out as best as I could:


Here are my helpers:


Pour in your favorite penetrant. I would just use WD40 even though that's not what it's for.

Try banging the tops of the pistons with the wooden handle of a hammer while trying to turn the crankshaft counterclockwise looking from the drive side. It's likely the crap is only above the rings. If counterclockwise doesn't work, try clockwise. We don't know if they were on their way up or down. You may be able to determine that by checking the position of the tappets. Put all four pushrods in and see which is higher (valve at least partly open). If only one and it's an exhaust valve then they were likely going up so you want to turn clockwise (If my brain is properly in gear).

Also, you can use the cylinder base nuts to put upward pressure on the cylinders but don't overdo it as you can break the bottom fins.
 
If only one and it's an exhaust valve then they were likely going up so you want to turn clockwise (If my brain is properly in gear).
The Intake Valve on the Right side is actually still stuck open. Does that indicate counter-clockwise?
 
The Intake Valve on the Right side is actually still stuck open. Does that indicate counter-clockwise?
If it's open quite a bit, then I would say that the pistons were going down so counterclockwise as viewed from the drive side (left side).

BTW, most here use drive or primary side for the left side when sitting on the bike and timing side for the right side. Stops confusion.
 
Success!

Lift, tilt back, raise push rods, hold with rubber bands, tilt forward and out.
Not nearly as easy as it sounds, but it helps when you know what to do...
Thanks again for the direction!

Looks pretty bad in there.
Now I need to figure out how to proceed if I can't move the pistons...

This is what it looked like at first:


This is what it looked like after cleaning it out as best as I could:


Here are my helpers:


Congrats.. That was down right nasty!!
I've read about a lot of Elixir's, one favorite is a 50/50 mix of ATF and Acetone.
I've used Marvel's Mystery Oil.
Good Luck, Looking forward to the next Chapter..
 
Congrats.. That was down right nasty!!
I've read about a lot of Elixir's, one favorite is a 50/50 mix of ATF and Acetone.
I've used Marvel's Mystery Oil.
Good Luck, Looking forward to the next Chapter..
I'll try anything at this point!
I just have penetrant in there at this point.

I rigged up a little contraption to put some steady pressure on it and now I'm going to have a pint...
What could go wrong?


Back
Top