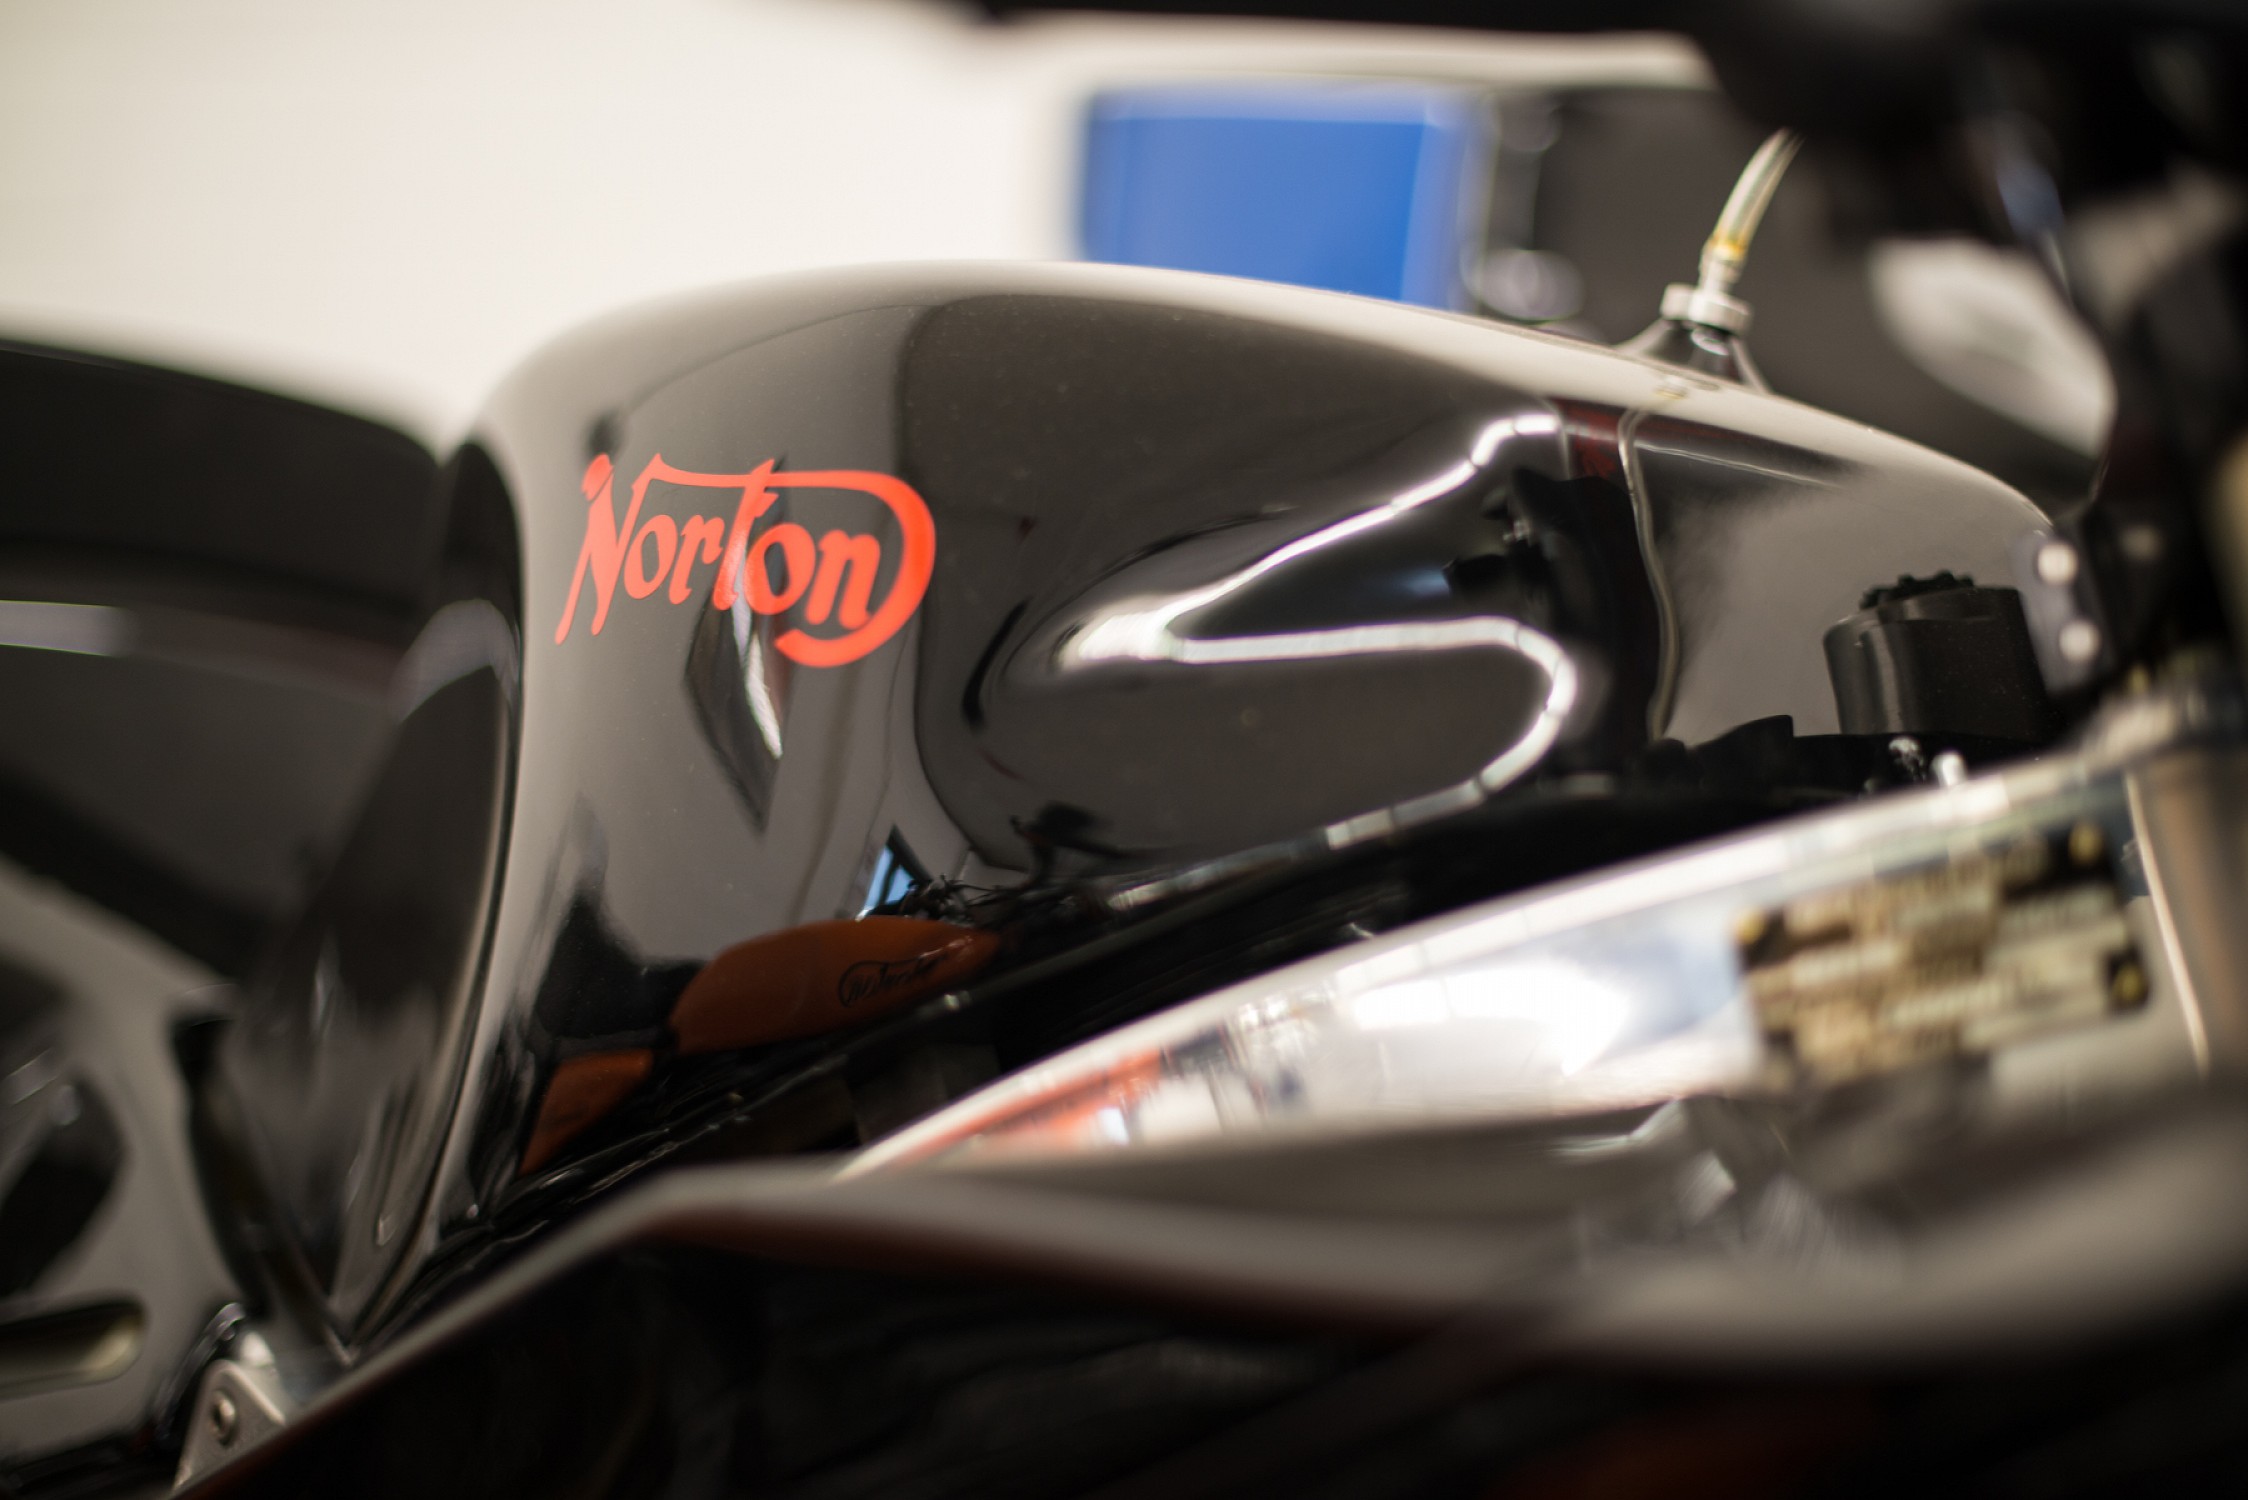
Norton Villiers Commando 1968 Re commissioning an adventures at 30

Hi Michael thanks for the reply. :)

Unfortunately the cable not just the sheath was broken right where it goes into the stator which was a shame, I've got a new stator and rotor on the way very kindly from another Commando owner who reached out over the weekend which left me utterly speechless. Just goes to show really how great our Norton Community is pretty much means I can have the Commando running in the next few weeks.

At some point when I've moved house I'm going to buy a new Crankshaft assy as the bikes a long term keeper for sentimental value at the moment things are tight though so had to use what I can fitted new shells though and cleaned it out etc an Pete Lovell looked it over for me which was good of him :)

The replacment petrol tanks got to be the main issue need to check for any leaks on it and get some paint on it and I've got to wash the oil tank out with something as well.

Very excited that she's gonna be running again soon.
 
Bit of Progress this week forgot to upload the pics with the clip so here's the set.

Best thing to wake up to a nice box of bits!

Norton Villiers Commando 1968 Re commissioning an adventures at 30

Found that the previous owner had miss made his carb cables were all different lengths so even on the minimum setting the air slides and throttle slides weren't sitting on the stops or fully shutting on the air slides.

Friday I'm planning to get the oil pump fitted and the stator and button the engine up especially before this cold snap set's in any more, one thing I did have a problem with was the stator contacting the rotor at about 4pm it did have witness marks on it from when the bike had been previously run, ive waisted the studs like Norman said to in his book which let me get the clearance with 10 thou feeler guages all the way round, but I'm gonna have another look while I'm fitting this new one that another Commando owner kindly gifted me after i found my cable was broken right in/at the stator not bad really considering it was the original 68 part or a 1968 made part anyway looking at the date scribed on it, when I get a new rotor I'll get it turned down then refit with fresh studs.

Got a few bits to get after this thinking of a new Pressure relief valve, new battery, need to get a set of lines for the spin on oil filter assy and a new filter, after that need to wash the oil tank out with something get the tail unit and petrol tank into some paint, and start to recreate the badges to fit the smaller roundels and into the correct font's hunting for original examples in pics at the mo so I can re create them.

Want to investigate the clutch to as it feels about as heavy as my 650ss always was a bit heavy first thing I'm gonna check out is the cable length then check the plates for flatness.

Then time the eleccy ignition and we are not far from the first start.

After that can take care of things like levers and stuff that's wrong inc the matt chrome bits, once the house move is done first things first though all being well is to get her running and riding so I can run her in over Xmas.

Thinking of going with BLVC254 which is a Leyland Jag Colour that Grant recommended.

As always any tips always greatly appreciated.


Norton Villiers Commando 1968 Re commissioning an adventures at 30

Norton Villiers Commando 1968 Re commissioning an adventures at 30

Norton Villiers Commando 1968 Re commissioning an adventures at 30
 
Last edited:
one thing I did have a problem with was the stator contacting the rotor at about 4pm it did have witness marks on it from when the bike had been previously run, ive waisted the studs like Norman said to in his book which let me get the clearance with 10 thou feeler guages all the way round, but I'm gonna have another look while I'm fitting this new one that another Commando owner kindly gifted me after i found my cable was broken right in/at the stator not bad really considering it was the original 68 part or a 1968 made part anyway looking at the date scribed on it, when I get a new rotor I'll get it turned down then refit with fresh studs.
Dont need to get new studs. There are two ways you can get the stator centred properly that wont effect anything negatively, and work forever.

1) relieve the mounting holes on the stator with a rat tail file to get it located properly. If there isnt enough movement of the stator now to make that work then,
2) double nut the offending stud with one nut on either end of the thread and use a six point deep drive socket attached to a box socket lever and gently tweak the stud over to achieve clearance.
 
Thanks mate appreciate the tips :) I did try the socket method but still struggled which was why I took some of the studs spinning them in a drill slowly with a file can't wait to get a propper workshop be interesting to see how this new stator works out wiring is perfect on it which is the main thing. Hopefully get it fitted on Friday.
 
Others differ, but I’ve always found it easy to drill out the stator holes, so long as I take it easy, with the bench drill, it’s fine. I only do this if needed though.

I also nowadays always get the rotor turned down down a bit. I aim for .040” undersize, so .020” clearance.

I then use a large strip of cut down Sainsbury / Tesco milk bottle carton and insert it around the rotor, between rotor and stator, whilst tightening both.

Works for me.
 
Thanks Eddie :) hoping to get some propper workshop equipment when we move certainly need a few tools for the flat tanker going forward. I'll make sure to do that when I get a new rotor.

That's a good idea on the milk bottle I'll give that a whirl tomorrow.
 
Got a bit of a weird one with the Commando been struggling to get the clearance on the rotor to stator at 4pm-5pm. Decided to go back a step and look at the primary case mounting. While doing it I spotted some clearance between the engine casing towards the rear of the bike and the primary case Even with the spacers out I've got the gap on the back half of the crankcase to the primary case with the 3 studs tightened up and with nothing in it won't push flush but is flush say against the front half of the engine case.

At some point someone has tapped the two engine to primary chain case studs out to 1/2inch spanner size bolts so thinking someone's tried in the past to try take the gap out and stripped them. Only noticed that why going to fit new bolts. Anyone cone across this before? Thinking the case might be buckled or warped At about 2/10th of an inch of spacers.

Say at 11pm I've got about 25 thou of clearance stator to rotor but none at 4-5pm.

Also does anyone know what the code was on the exploding rotors just want to check the one that was originally on my bike.

Thanks in advance :)

Also thanks to a fellow Commando owner for the Stator big help :)

Norton Villiers Commando 1968 Re commissioning an adventures at 30
 
Even with the spacers out I've got the gap on the back half of the crankcase to the primary case with the 3 studs tightened up and with nothing in it won't push flush but is flush say against the front half of the engine case.

So the second picture is before you removed the "spacers" (shims) from the primary chaincase support stud (or I'm not following it either)?

Are the two stator pictures supposed to be showing something?

At some point someone has tapped the two engine to primary chain case studs out to 1/2inch spanner size bolts so thinking someone's tried in the past to try take the gap out and stripped them. Only noticed that why going to fit new bolts.
"Studs"?
Do you mean two of the (three) crankcase threads?
1/2" A/F spanner size so presumably now 5/16" UNC/UNF?


Also does anyone know what the code was on the exploding rotors just want to check the one that was originally on my bike.

"54202298" is the late (supposedly welded) rotor.
 
Thanks guys yep I just realised I hadn't typed it out to clearly.

Picture was from earlier in the evening, even with the shims removed on the primary case and the 3x crankcase screws that mount the inner chaincase on tight. It's still keeping that gap between the r/h half if you draw a vertical line down the engine case and the primary case so wondering if its warped or somethings interfering. Going to have a look in the morning and try see if anything is hitting the back of the chain case maybe.

Stator pics were just to say thanks to the person who helped me out with it :)
 
Cooking on Gas as they say :) just gonna order some new locking tab washers tonight for the primary to engine bolts. Then I've got new stator studs on the way along with a new clutch cable old one was 10" to long.

Decided on BS227 Deep Brooklands Green for the colour gonna order a test can tomorrow. Should be making quite swift progress now.

Next thing I need to do is deal with the oil tank thinking washing it out with paraffin?

Does anyone know if the lines to the spin on oil filter should both be herringbone?

Getting close now hoping to have her running for Xmas.

Thanks in advance :)

Norton Villiers Commando 1968 Re commissioning an adventures at 30
 
Thanks Lab yep it had one fitted by one of the previous owners, wasn't sure what the lines in the kit should have been as I've learnt to not trust anything that was done to the bike. Ones a herringbone and one isn't. Been replacing all the oil lines after what happened with it. Thinking retaining the spin on filter will be a good idea anyway as any extra safety net.
 
Been replacing all the oil lines after what happened with it. Thinking retaining the spin on filter will be a good idea anyway as any extra safety net.

Yes, I wasn't suggesting you remove the filter only that whatever you fit wouldn't be "original", plus the herringbone with the original pattern (not the herringbone copy) is difficult to find but a good idea to replace the oil lines of whichever type if they are known to be several years old.
 
Thanks Lab :) very good point I used the wrong term tbh should have said what's usually supplied with the conversion kit.

I'll pop Andover a message and see what lines they supply in the kit as the body looks like the one in the pic on the website :) need to order a few more bits tomorrow anyway so might as well get it with them. Getting close now though exciting! Should have the flat tanker running again this week now I've identified the magneto chain so it's all action. Just the WD bike after these two then I'm gonna have to think of another project to work on :)
 
I'll pop Andover a message and see what lines they supply in the kit

"OIL FILTER KIT (WITH PLAIN 3/8" ID HOSE) BARBED PIPES"
 
Exciting a few bits turned up today :) stators on and clearance is good.

Got a few tins to try tomorrow I think bs227 was pretty close after looking at a colour card today but was pricey so decided to pick two tins to Try tomorrow rover brooklands green and Ford laurel green


Norton Villiers Commando 1968 Re commissioning an adventures at 30
 
Had a bit of a rubbish day today on the Commando such is life :)

If the object of the game was to identify a similar colour to what I've got mission success on the Brooklands green, laurel greens no good. Gonna order the Jaguar BLVC254 or Aston Martin Goodwood Green on Monday and do it in that.

Another problem I've hit is the clutch cable know that's dead right being an early 45" one from Andover so thinking its either my run should it come up the left hand side ? I followed the cable run in the inoa tech notes.

So thinking it's either the cable run or the bars are wrong like the levers are measuring from the top of the bar to the middle of the top of the bar the rise is about 2.5"

Norton Villiers Commando 1968 Re commissioning an adventures at 30
 
Back
Top