Fork drain screws

o0norton0o

VIP MEMBER
Joined
Apr 27, 2015
Messages
1,751
Country flag
I've ordered some low profile hex head screws to replace the slotted fork slider drain plug screws... I've been testing different dampers lately so I've drained my forks 5 times in the last month and those flat blade screw heads are pretty mangled now. One didn't even want to come out today, so I just drained the fork by removing the bottom bolt.. I searched the site to see if anyone has done this yet and couldn't find any results saying this.... so, Anyone here replace those slotted screws with hex head or Torx ??

The other issue is that when I tighten the base screw sometimes the whole damper turns with the screw inside the slider. I was thinking of making a longer screw to go into the drain plug hole to wedge against the body of the damper to keep it from spinning... Anyone try that ?? Did it work?
The point of the standard screws is the large enough head to seal against the washer. The threads are simply 1/4" x 20 so if what you bought seal they will work.

Triumph does what you mention - but there is a slot for the screw and the screw is special. I don't think that it would be a good idea on the Norton forks - way too few threads. If put together dry and the fiber washers are cleaned and dry or new, the damper should not move. When I do it, I always used new fiber washers and spotlessly clean.

Fork drain screws
 
thanks Greg, always good to hear that I'm not the only person who's crazy...
 
Allen head screws and Dowty washers for me. Washers seem to last for ever despite frequent removal.
I also refill the fork legs through the drain holes. i made up a fitting which screws into the leg and the other end is connected to a hose with an inline tap in it.
i then use a 50ml catheter tipped syringe filled & inserted into the hose, open the tap & squirt in the oil. Turn off the tap remove the syringe to refill it.
The only real downside is that the syringes only really last the two legs as the oils cause the seal within the syringe to swell and make them unusable...
But i have loads, their cheap & its soooooo much easier than taking the top caps off☺️

Do you not lose some oil when you remove the hose?
 
I also refill the fork legs through the drain holes. i made up a fitting which screws into the leg and the other end is connected to a hose with an inline tap in it.
i then use a 50ml catheter tipped syringe filled & inserted into the hose, open the tap & squirt in the oil. Turn off the tap remove the syringe to refill it.
The only real downside is that the syringes only really last the two legs as the oils cause the seal within the syringe to swell and make them unusable...
But i have loads, their cheap & its soooooo much easier than taking the top caps off☺️

Interesting..... I would also like to know more...

I bought a automotive fluid extractor/injector with enought volume to load the 175cc's of fork oil in a single application. It has a long siphon tube so I just cover the fuel tank with a plastic skin, undo both cap nuts and lower the front end of the bike until there's room below the cap nut to fit the tube. Then it's just a matter of not squeezing the plunger at too fast of a rate so it doesn't overflow. It's a 3 handed process to hold the tip of the tube in place, the body of the siphon and then depress the plunger, so I just hold the siphon body and press the plunger against my chest. The siphon is designed for automotive fluids and the rubber has held up to a dozen uses with fork oil over the last year. (a dozen because I am currently doing damper testing)

Here's the siphon picture..

Fork drain screws


I had already ordered the hex key screws hoping someone had made them work already... those OEM flat blade screws suck, but maybe they use them so you can't overtighten them because you can't really get a good purchase on the slot with a blade screwdriver to potentially strip the threads on the slider...


Greg, I think I'm going to make a hollow 1/4-20 hollow sleeve for the set screw hole to protect the threads and make a poker to slide up that hole to put pressure on the damper body so it will resist spinning when it occasionally does that. As you said, I do realize how few threads there are in the drain screw hole and putting pressure on them is not a good idea..

Thanks all for your responses..
 
Greg, I think I'm going to make a hollow 1/4-20 hollow sleeve for the set screw hole to protect the threads and make a poker to slide up that hole to put pressure on the damper body so it will resist spinning when it occasionally does that. As you said, I do realize how few threads there are in the drain screw hole and putting pressure on them is not a good idea..
Good idea!
 
You can make an undersized washer with an Oring that fits around the outside of the washer to prevent leaks for both the drain screw and the bolt that holds in the damper.
 
You can make an undersized washer with an Oring that fits around the outside of the washer to prevent leaks for both the drain screw and the bolt that holds in the damper.

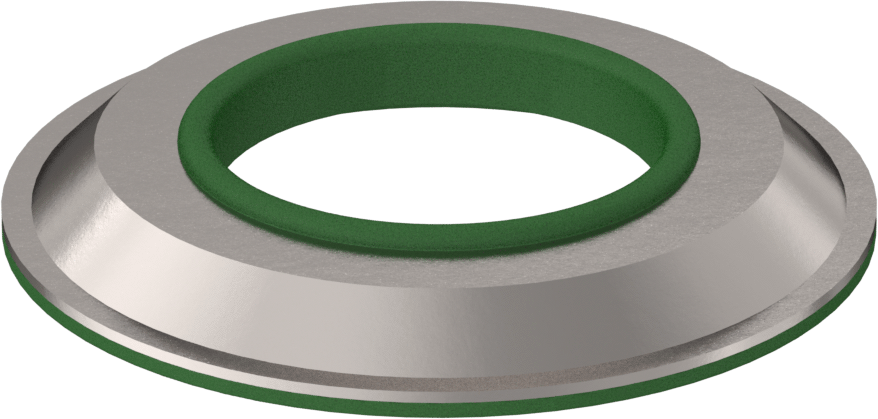
Unfortunately my application is not a standard OEM one so my base bolt is 10mm, not the imperial OEM bolt. Right now I'm using these bonded washers which are imperial sized and is the best fitting thing I've found so far, for a simple assembly it with zero leaks. It's got concentric petroleum product resistant silicone ribs on the bottom side and is so tight on the 10mm bolt that I have to thread it on the bolt to seat it. It seems to work so far...

Fork drain screws


During my initial testing, I was doing so many damper changes that I would use a little liquid sealant. It works for a single application with no leaks, but is problematic when you disassemble/reassemble it because cured sealant is stuck everywhere... and it's a headache to remove.

As usual Jim, you have a good alternative that I haven't considered yet. I'm going to keep using the above washers for my application, but I have your solution in my head if I have problems with this one.. thanks
 
I think it was Ludwig in a thread a few yrs ago suggested using a suitable threaded bolt into the drain hole to hold the damper rod from spinning when trying to torque or remove the lower end bolt. There was a video on a vintage bike workshop channel where they were having a big issue removing a lower bolt off a commando fork, badly rusted/seized. I suggested the drain bolt holder, but it wouldn't hold enough. He drilled into damper rod from drain hole, then put in the longer bolt through drain hole so it would engage in new hole in side of damper. Then he was successful unthreading lower bolt.

Could you try putting more compression loading on the fork, so damper rod resists turning more when turning lower bolt? Say using a strap or something?
 
For tightening, simply hold the top of the damper. For loosening, once the bottom bolt is loose, holding the top of the damper will usually work too. Of course, if just taking the slider off this won't work since you can't get to it.
 
Do you not lose some oil when you remove the hose?
When i first carried this process out i had a clean tray below to measure the oil that dripped out at syringe removal from the hose & when the fitting was removed from the fork leg & it was only around 5ml...
 
I've not had any trouble with the original screws.

Some loctite 518 on the fiber washer and no weeping.
 
Last edited:
The point of trying to use the drain hole as a way to keep the damper from spinning is to avoid disassembling the slider from the fork tube. I was changing slightly different prototype dampers by just removing the axle and wheel, then unbolting the bottom damper bolt and pulling the whole damper cartridge out from the top. I could then putting a different cartridge in, reassemble it, and add fork oil pretty quickly. (1 hour each side) Most of the time the new cartridge tightened up fine, but occasionally it would spin at a certain tightness when I felt it should have a little more torque. That would lead to undoing the slider collar and fork seal to remove the slider and pull it clear of the fork tube, so I could hold the damper tube body while I tightened the bottom bolt..... Needless to say, it adds hours to a process that already takes an hour for each leg... Hence, the idea of using the drain hole opening as a way to pinch the damper body from spinning...

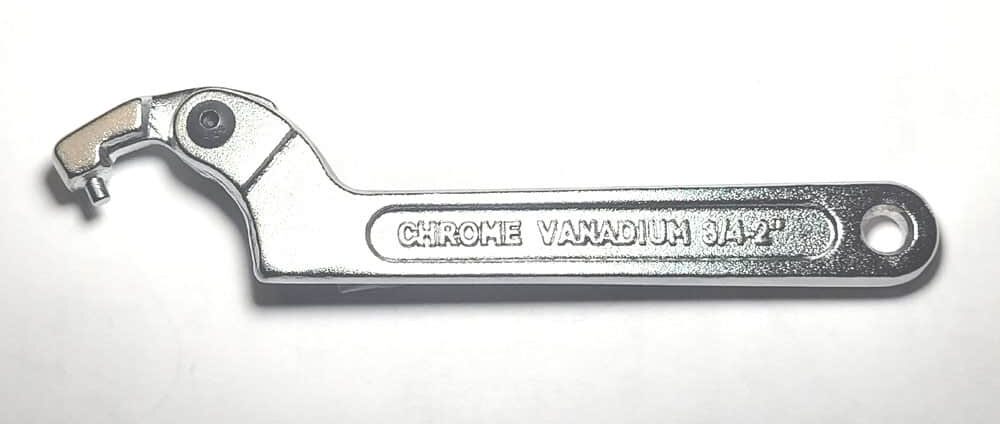
Also, I'm wondering what type of strap wrench people use on the fork slider nut... anyone??


My slider nuts are pretty well mangled on the outside. Doesn't someone make a nut with a hex cut into the doughnut for easier removal/installation??? anyone?
Search is your friend.

I've shown a no cost effective mod.
 
Search is your friend.

I've shown a no cost effective mod.

No luck searching 4 times... at least here on the forum.

...... and no luck with google either. I'll just make my own set up and wrench... It's annoying that it's essentially a round nut and in the mechanical world those assemblies are handled by a monkey wrench which scars the crap out of the part... Not that I care since it's covered up by the plastic boot, but a tool similar to the exhaust nut system could easily be applied there instead.... and so... here I go again..
 
Last edited:
No luck searching 4 times... at least here on the forum.

...... and no luck with google.
Drill holes in the O.D.


2F679937-7375-41F0-8A4B-E1BEB81B2CA1.jpeg


Before any hecklers challenge "no cost", simply use a 5mm hex key inserted in the hole, tap with a suitable drift. The spanner therefore, is optional.
 
Last edited:
I used a rubber strap wrench to good effect on these. Wasn't zero cost, more like $5 at a dollar store....but hey, I'm worth it ;-)
 
Back
Top