Replacement engine install - which rear ISO?

Status
Not open for further replies.
Ok, Ok, I'll throw this in, back on the topic (and why I originally wondered in here):
Does anyone know of a source for the Mick Hemmings style ISO adjusters now these are no longer available from him? These are pretty simple machining I'd think. The one I purchased was roughly $50 and could be used front or rear. A very good alternative to the MKIII type rear and it didn't need for the rear iso's to come out in order to fit.
I was wondering the very same myself Tornado. I'm lucky enough to have them on my bike. They are brilliant and can literally be fitted in minutes. I believe the machinist who made them for Mick retired and the demand dropped anyway. Maybe worth a call to Angela ?

In my opinion the tiny grub screws with nylon tips are better replaced with a pointed brass screws though.

Incidentally, I think the front and rear are slightly different. (Short one to the front).
 
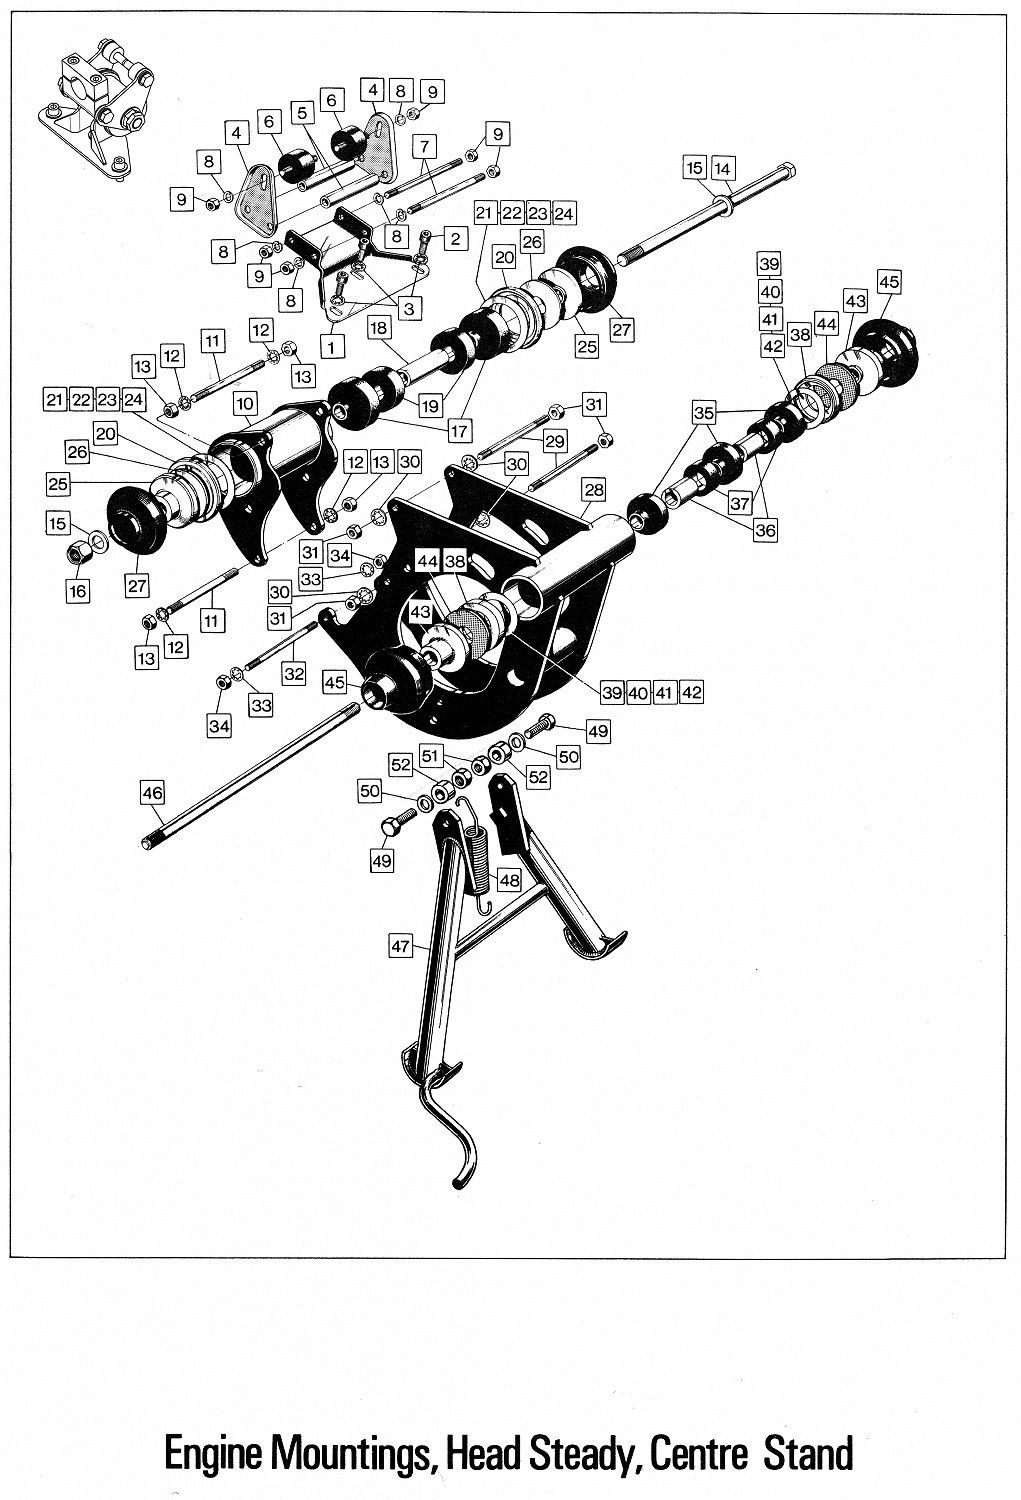
For folks who are not familiar, this is the (late) Mick Hemmings ISO Vernier conversion kit. The two left images are the individual parts of the rear ISO and the right one shows the front assembled. The threaded inner tube is clamped between the frame and the ISO centre shaft and the collar is rotated to give the correct clearance against the end caps. - Simples !!


1641590613175.png
 
The adjusters are protected by a patent so not ripe for picking and by the time you bought all new single Isolastic parts as per the OEM set up the cost all up might be more than a one piece Vernier kit.
Those adjusters afaik were to convert the stock system by replacing the stock side collars.

 
The adjusters are protected by a patent

The patent has expired.
 
They would still have a limited sales potential as per # 25 overall cost wise. (imho)

Perhaps it is odd that the factory did not use something like that but do not know what an original Mk3 unit looked like.
 
They would still have a limited sales potential as per # 25 overall cost wise. (imho)

Perhaps it is odd that the factory did not use something like that but do not know what an original Mk3 unit looked like.
Legend has it that the original design was with Vernier adjusters but the accounts vetoed it it favour of the shimming option (allegedly cheaper to produce). If that is true it was an incredibly short sighted decision. Can you imagine the amount of time wasted doing this on the assembly line ?
 
Man I love you guys. Ask about Venice ISOs and you go DEEP!

Have a set from Classic British Spares on the way.
 
Yes, full kit that can fit in early or late style front mount tube. With PTFEs and rubber boots.
AN, front or rear is about $150 delivered to the US by AN on eBay. The AN kit includes everything required, including instructions and two tools. I sell the AN kits for even less to forum members.

Norvil has kits without the rubber boots that go for about $98 - they have "extra soft rubber".

So, $250 for the front only was a lot - looks like competition has helped quite a bit with these.
$250 is front & rear with boots and PTFEs.

$150 is much better!
 
For folks who are not familiar, this is the (late) Mick Hemmings ISO Vernier conversion kit. The two left images are the individual parts of the rear ISO and the right one shows the front assembled. The threaded inner tube is clamped between the frame and the ISO centre shaft and the collar is rotated to give the correct clearance against the end caps. - Simples !!


View attachment 83966
Easy to make if you have a lathe, but I would use a finer thread.
With such a wide range of adjustment, there is a high risk of misaligning the engine cradle in the frame.
If you have a good head steady, wear of the isos is minimal.
For most, setting the isos should be a once-in-a-lifetime thing.
 
Status
Not open for further replies.
Back
Top