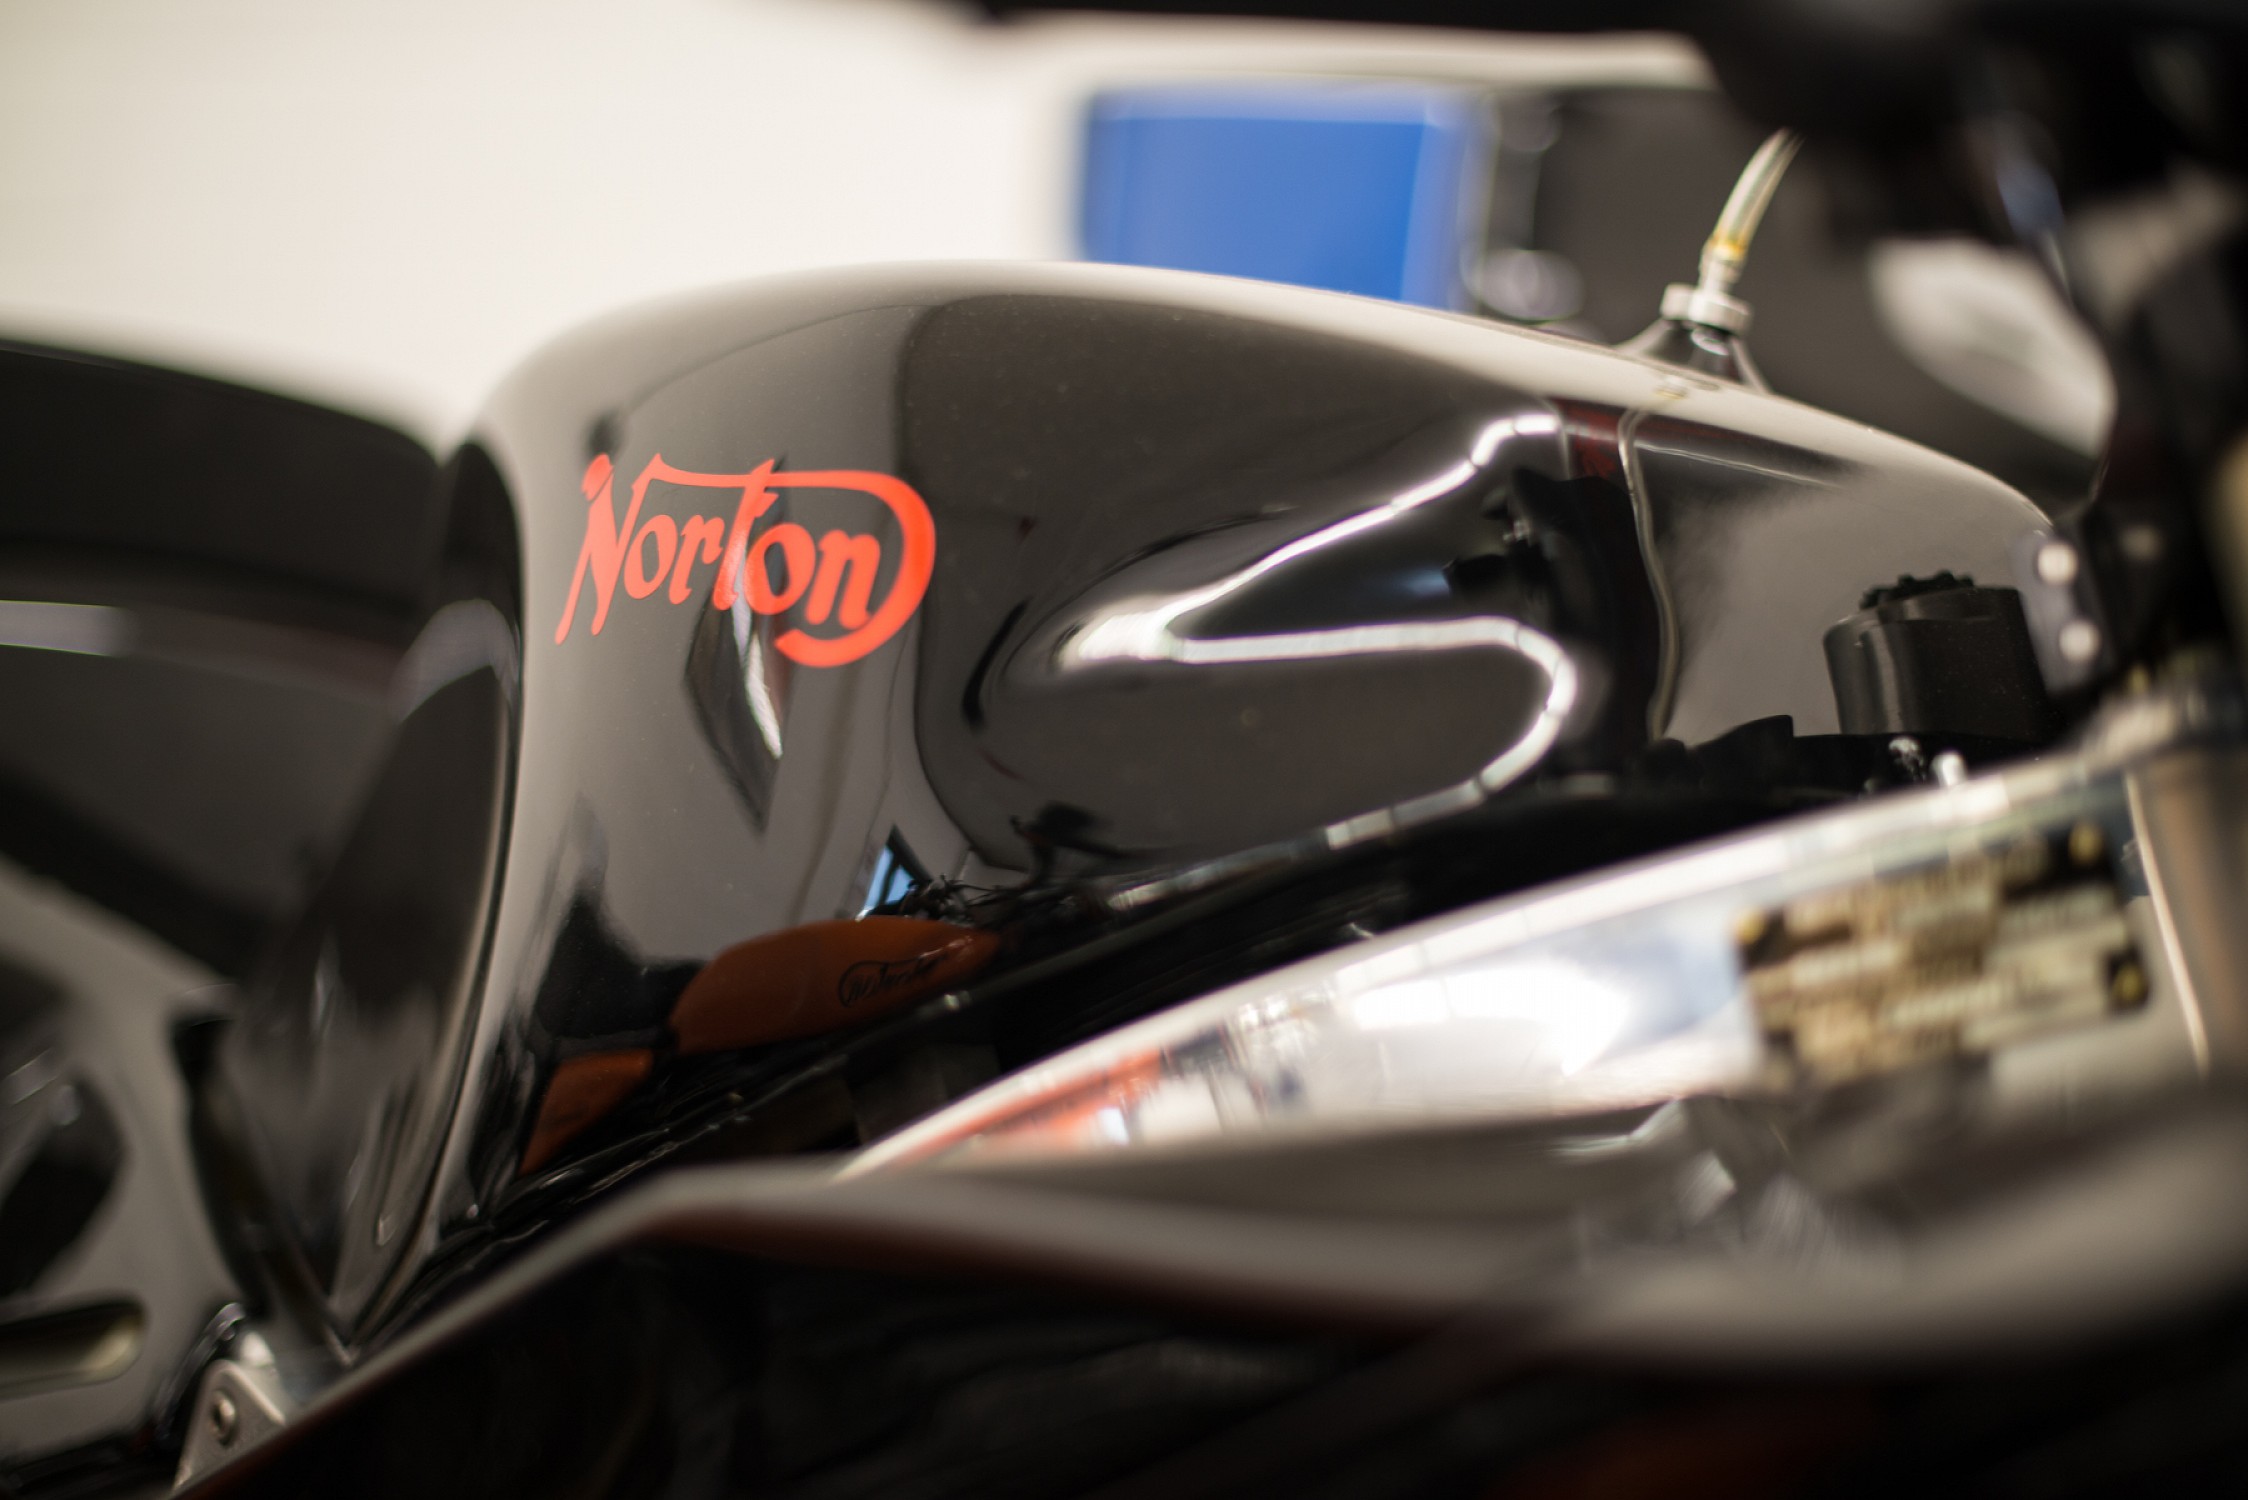
My What Am I Getting Myself Into Combat Build Thread

Sure, and you're just the guy to use it and tell us all about it! https://coloradonortonworks.net/cnw-billet-center-console.html :)

Actually, if interested, call me.
Granted, the build is a little much, but that's a tad over the top :)

Other than that, this is the only thing i found. Not really loving it though. Will give the current location a try. If it sucks, will have to look at moving.

 
Dilemma #252. Do i put connectors for the stator inside the primary case (ala CNW),

My What Am I Getting Myself Into Combat Build Thread


...or on the outside of the primary (ala stock)?

My What Am I Getting Myself Into Combat Build Thread


Benefit of connectors inside is easy removal of the stator if needed. Benefit of outside is easy removal of the primary case, it's also a cleaner install.

I'm leaning towards the inside. If i need to remove the primary case, that will be a general pain in the ass and an easy electrical disconnect will only make that job marginally easier.

Or i could do two. But that's another break in the wire.
 
Dilemma #252. Do i put connectors for the stator inside the primary case (ala CNW),

View attachment 96703

...or on the outside of the primary (ala stock)?

View attachment 96701

Benefit of connectors inside is easy removal of the stator if needed. Benefit of outside is easy removal of the primary case, it's also a cleaner install.

I'm leaning towards the inside. If i need to remove the primary case, that will be a general pain in the ass and an easy electrical disconnect will only make that job marginally easier.

Or i could do two. But that's another break in the wire.
I want you to do it normally - outside so I'll say inside :) Are you doing belt-drive? That's the only way I would consider inside.
 
Yep, belt drive. Should have stated that to begin with.
 
Or i could do two. But that's another break in the wire.

I have dual breaks in the wires. Inside and outside connectors. Doesn't really make a farts worth of a difference as far as I can tell, but I'm not that anal about whatever minimal difference it could make. I do it that way because my stator is in the outer primary cover. I guess some will think that is irrelevant to a Commando owner, but it is a 750 Norton and the dual breaks in the wires are not an issue. Duplex style connector inside and separate bullet connectors outside. Everything outside is in relatively easy to separate wire wrap. Bullet connectors outside are staggered so I can use a smaller diameter wire wrap. TMI?
 
When I first read your post Tomu I thought ‘why on Earth would you put in double connectors‘?

I run a belt drive too, and had never considered inside connectors either.

Then the more I thought about it, taking the primary off is a pain in the arse, and has to be done even for the simple task of swapping the gearbox sprocket.

Next time I do it I reckon I’m adding inside connectors to my current outside ones !
 
The inner connectors are for replacing the stator. Not sure they'd help in getting the primary cover off. But how often are you replacing the stator??? Outside connectors help if you need to remove the primary case, which is how often??? Regardless, I'm thinking on using staggered bullets so if i do need to remove either (the stator or the primary case), it will be easier to pull through the grommet. Or, i could just put in two sets of connectors.
 
Wanted to put in a fuse block. I liked the Fuzeblocks FZ-1, but didn't like the way the wires entered and exited, plus i think it was sold out at the time, so i went with a Rowe PDM-60 (i added the deutsch connector)

IMG_1215sm.jpg


Now where to put it? I wanted to put it in the battery box, but wires were going in the wrong direction where i wanted to mount it, so i decided to put it on the rear mudguard support bracket. Only problem was the bracket was not as wide as the PDM. I was just going to zip tie it, but that looks like crap and it didn't hold it very securely. So out with the band saw and metal brake to fab up a wider bracket

IMG_1217sm.jpg


And added rivet nuts to hold it down

IMG_1135sm.jpg


Installed

IMG_1179sm.jpg


Only problem is you need access to the back to reprogram the unit and the nut on the timing side will be buried under the oil tank. So fingers crossed i've got the trip amps correct.
 
Last edited:
Went with a Tri-Spark Reg/Rec. AN makes a bracket for aftermarket Reg/Recs.


Only problem is it's not stainless :cool:

IMG_1119sm.jpg


I'm beginning to think i'm going overboard with the deutsch connectors (wait until you see the headlight bezel ;) )

IMG_1221sm.jpg


I probably should have left a little more slack. The seat is real close, but it's off the wires.

The box above the connector is a strobe for the brake. Fast flashes, follwed by slower, then steady red. You can't be too obnoxious.

 
Wanted to put in a fuse block. I liked the Fuzeblocks FZ-1, but didn't like the way the wires entered and exited, plus i think it was sold out at the time, so i went with a Rowe PDM-60 (i added the deutsch connector)

View attachment 96723

Now where to put it? I wanted to put it in the battery box, but wires were going in the wrong direction where i wanted to mount it, so i decided to put it on the rear mudguard support bracket. Only problem was the bracket was not as wide as the PDM. I was just going to zip tie it, but that looks like crap and it didn't hold it very securely. So out with the band saw and metal brake to fab up a wider bracket

View attachment 96721

And added rivet nuts to hold it down

View attachment 96722

Installed

View attachment 96724

Only problem is you need access to the back to reprogram the unit and the nut on the timing side will be buried under the oil tank. So fingers crossed i've got the trip amps correct.
Might need some spacers under your unit , I don't think it will stay tight .
 
I think Shelby’s point is the red circled area below. Clearly this screw cannot be ‘tight’ (meaning that the two surfaces are not tightly clamped together).

So that screw is gonna eject itself.

If you loctite it, it still isn’t ‘tight’ and will allow the unit to vibrate, fret, etc.

So, the best (only) solution is a small spacer twixt the two surfaces that allows the screws to be fully tightened.

My What Am I Getting Myself Into Combat Build Thread
 
Cutting corners or being a perfectionist?

So i'm like halfway in wiring this pig and i'm now second guessing earlier decisions. For instance, i bought the wire before i fully figured out the wiring. Now i have a new requirement for a wire from the ignition switch to power the turn signals in the accessory position (for warning flashers). I have plenty of white wire, so was going to use that, but now i have two white wires feeding the headlight bezel. Do i rip it out and order new wire that has a color not previously used, or leave it? If i rip it out, i need to order new wiring plus new deutsch connectors (at like $25).

Also, there's the wiring loom. I like braided split loom and had a lot leftover from a prior build, but i don't think it's temperature or chemical rated. I started using it but then thought i should upgrade to temperature and chemical resistant braided loom (not cheap BTW). After getting that, i'm now thinking on PVC. Not in love with the looks, but it's better than braided for exterior locations. It would also be a pain as i've already started making connections.

So, am i a perfectionist if i change it or am i cutting corners if i leave it as-is (it will work fine as it is)?
 
My only minor comment would be that there’s no need to use such relatively big water proof multi pin connectors in the headlight shell, it’s dry in there, so smaller, none waterproof ones (with dielectric grease) are fine, and make the ‘packaging’ easier.
 
Back
Top