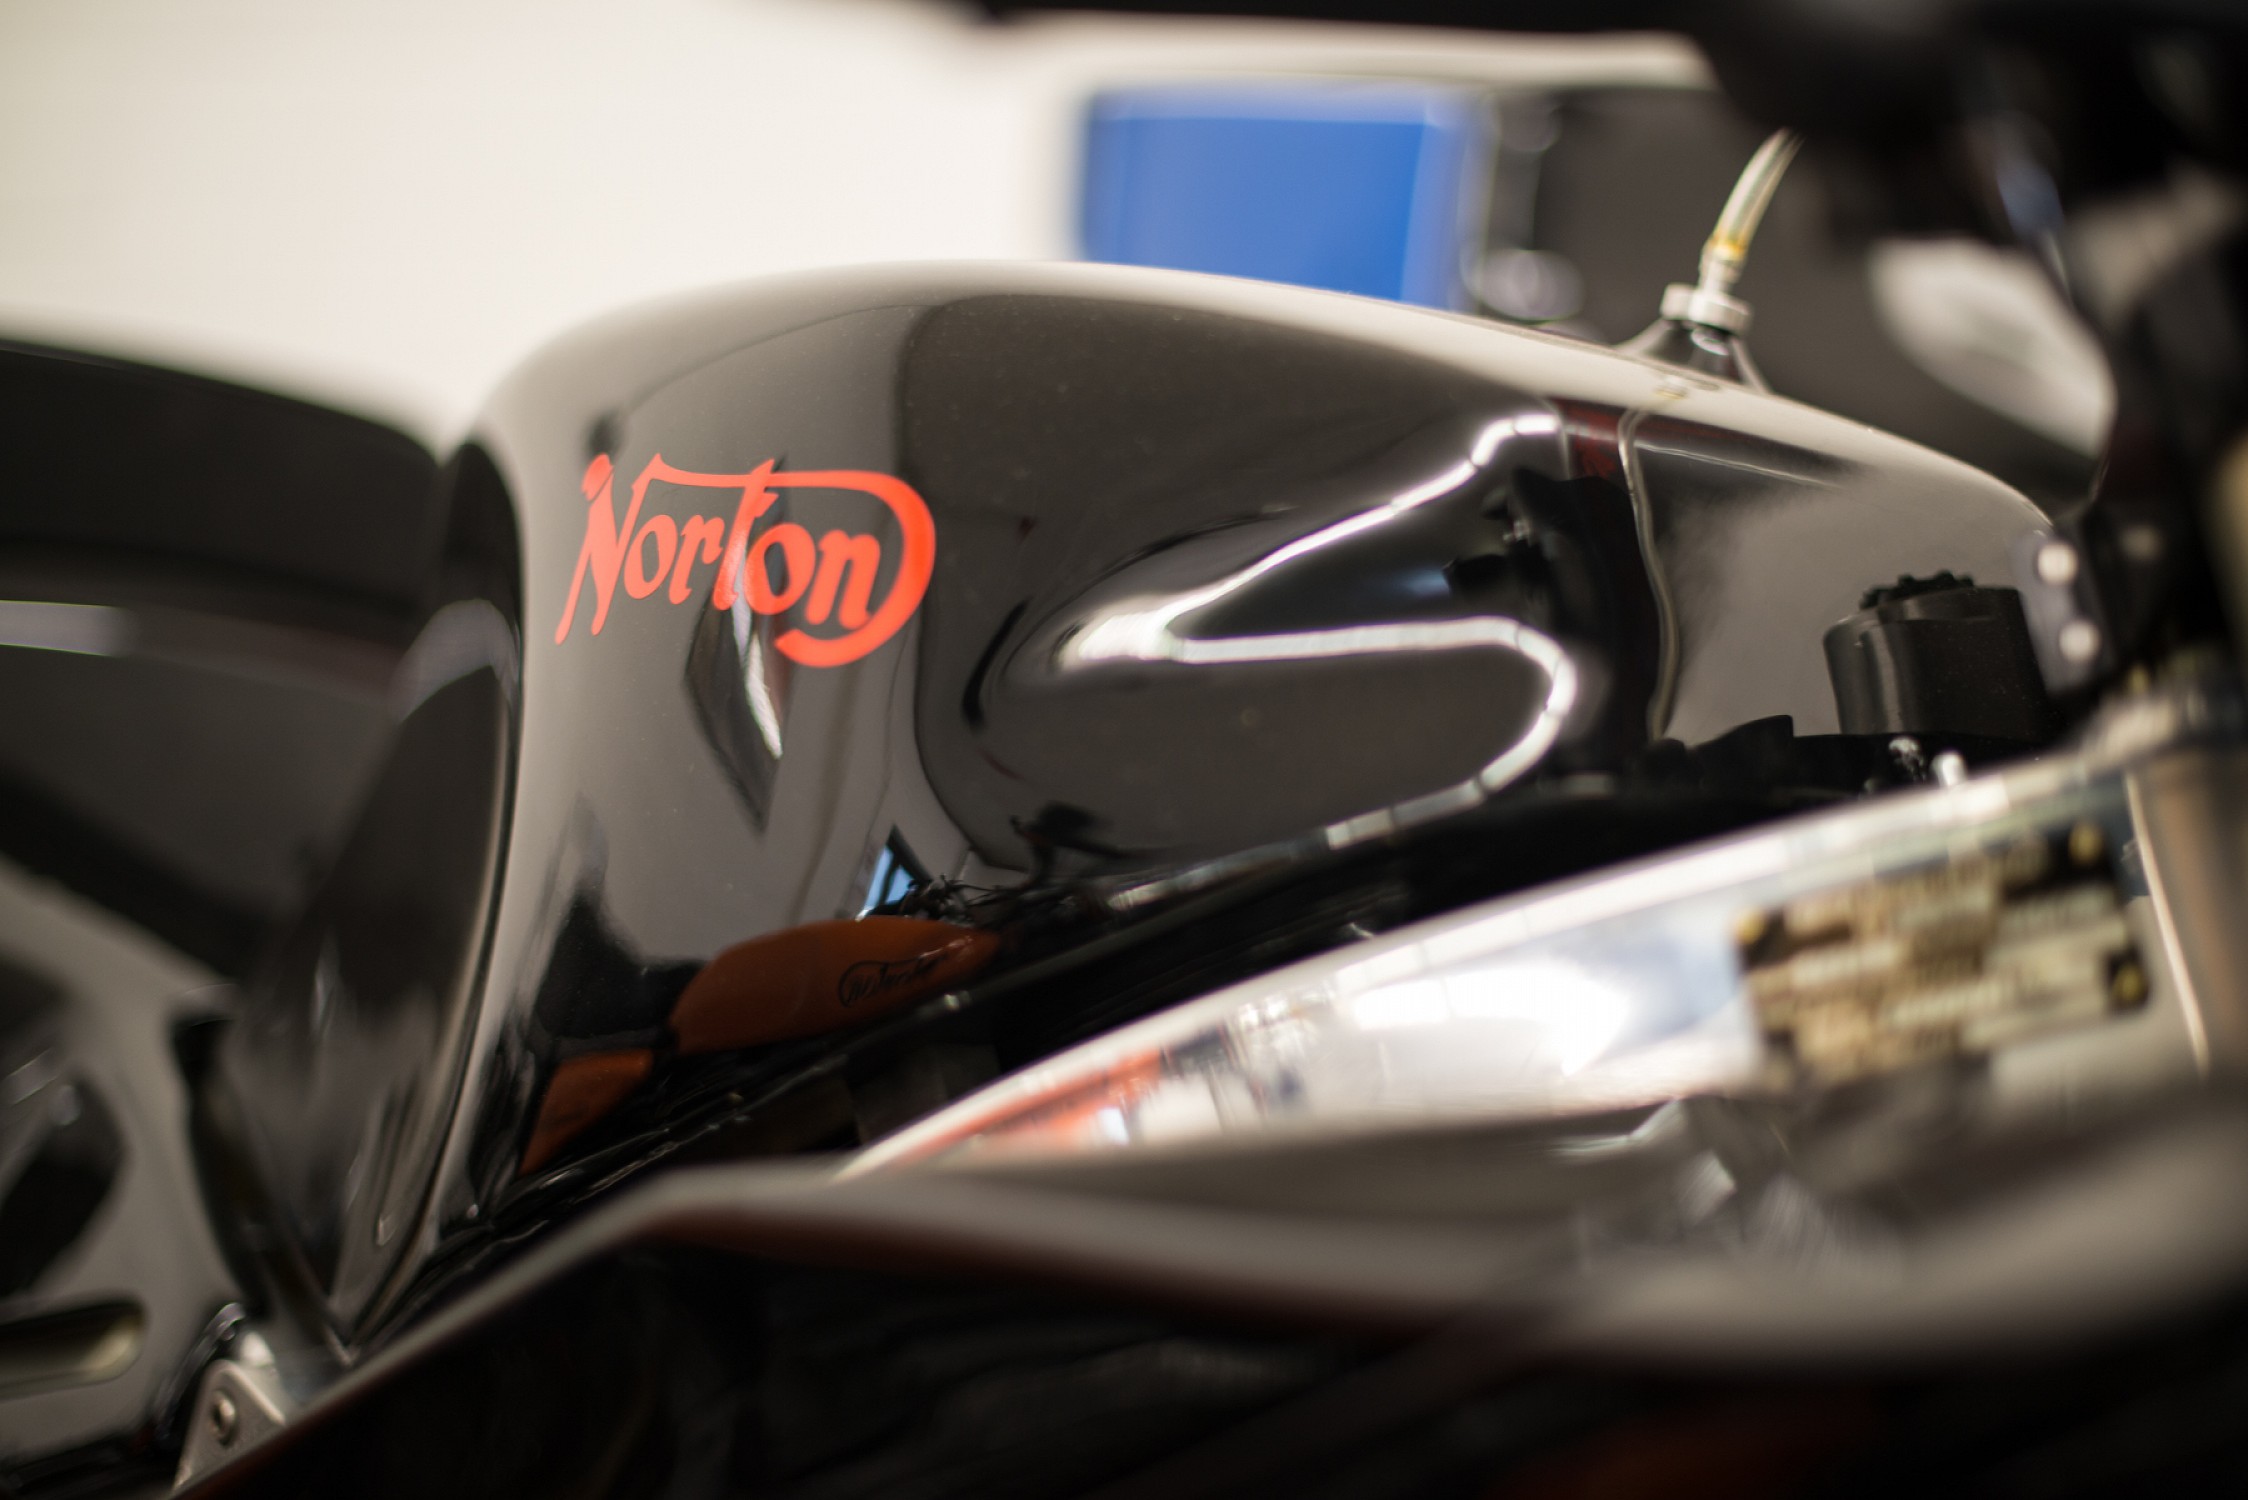
Data plate install

Status
Not open for further replies.
The original was read from the drive side. 20 years after putting a new one on my ‘72 combat I noticed I put it on facing the timing side. Oh well.
74 faces timing side, 72 Combat faces Drive side.
Both appear to be original..

Do 750's face one way, 850's the other?
Knowing which direction during what time frame and series of commando is the difficult part.
With a new plate I always suspect fraud. Original faded is my preference.

An equipment survey of unmolested bikes, past threads, the parts book and even many vendors are not aware of the actual cert plate use.
Even this link info is not correct: cert plates
I have found several others...
IMO- Do what you want , It's obvious no one knows or is telling.
 
BSANUT on eBay in San Jose, Ca has these.
About six times the normal price and not even the correct PN for the pix
Part number 06-1441, ID Plate, 750, 1971, $6.75 = old brits

My survey, so far, shows 1441 was used on all 1971 MFG 200000 bikes my 202206 and all unmolested 71 mgf have 1441 andover england plates
As soon as they changed to jan 71 it goes by the parts book. This is what I see as the original trend, with exceptions being manufactured as we speak LOL
 
I guess the nail screws are drilled a
completly through the tube ?
asfor getting AN to stamp my plate , I will stamp it myself , I am sure I can do it as messy as the factory did .
 
74 faces timing side, 72 Combat faces Drive side.
Both appear to be original..

Do 750's face one way, 850's the other?

Edited: Both read from the timing side, with the 72 offset to the timing and the 74 offset to the primary.

After further review, see the Edit.
 
I bit of advice from my own experiences. The plate arrives flat and needs bending to the correct shape before riveting, or else the plate will not sit flat on the headstock and cannot be rectified afterwards. The rivets just hammer in and can be screwed out but will damage the plate when removed.


(This example could be or was an Interpol with a fairing originally as the frame plate is normally on the headstock. )


Data plates, their numbering, coding, conformity to US DOT requirement 49 US Code, Part 565, record keeping, and Manufacturer's ID were items that I was involved in when I worked at the Wolverhampton factory. This method for removing the rivets works better than any other method I've ever seen.

When I worked at a Norton dealership in North Carolina USA in 1970, I saw a Highway Patrolman come in and tell the owner that he was working on a motorcycle theft case and he wanted to review the used Commandos in stock and those in the service shop. I noted that one in the service shop had the serial number on the VIN plate painted over with strip of black paint. When the officer came to this motorcycle, he flagged it so the shop owner had his service mechanic come over to remove the plate. He took a 1 1/2" wide chisel and a big hammer and smashed off the rivet heads. He took the plate over to the parts washer and the black paint came right off -- oddly enough, the number on the plate did not match the number on the engine but neither of the numbers matched up to any known stolen motorcycle (and how many Commandos were in NC in 1970, anyway??) So, yeah, there are a number of ways to remove the plate -- some MUCH better than others!

If you're going to do it, use the Dremel method!
 
This forum is an incredible source of information. In my case, I will match the orientation of the original plate. I could have kept the original on the bike I suppose, but it's so badly decomposed it's almost illegible. My bike won't be a concours beauty but that plate would be the ugliest thing on it.
I'm going to start with the dremel-screwdriver approach to the rivets. I can always drive them through if this fails.
 
I've tapped with a screw driver to get them to loosen up than was able to grab and twist them out of the frame before sand blasting and painting the frame. Then just tapped the replacements in with a hammer and punch. I also put the right amount of bend or curve in the replacement plate before attaching it to the freshly repainted frame head stock.
 
To install the new drive rivets i drilled the end of an M8 bolt to form a shallow well, it make driving them in easier as the tool is centralised over the rivet & it doesn't flatten the head of the rivet
 
-- I'm going to start with the dremel-screwdriver approach to the rivets. I can always drive them through if this fails.
AC - the "drive rivets" are noticeably tapered. I'd be concerned that punching them through would hog out the existing holes so much that the new rivets might not find enough meat in the metal around the holes for the new rivets to bite into. This probably isn't the biggest problem in the world but I'd do my best to avoid driving them through if I could.
 
Status
Not open for further replies.
Back
Top